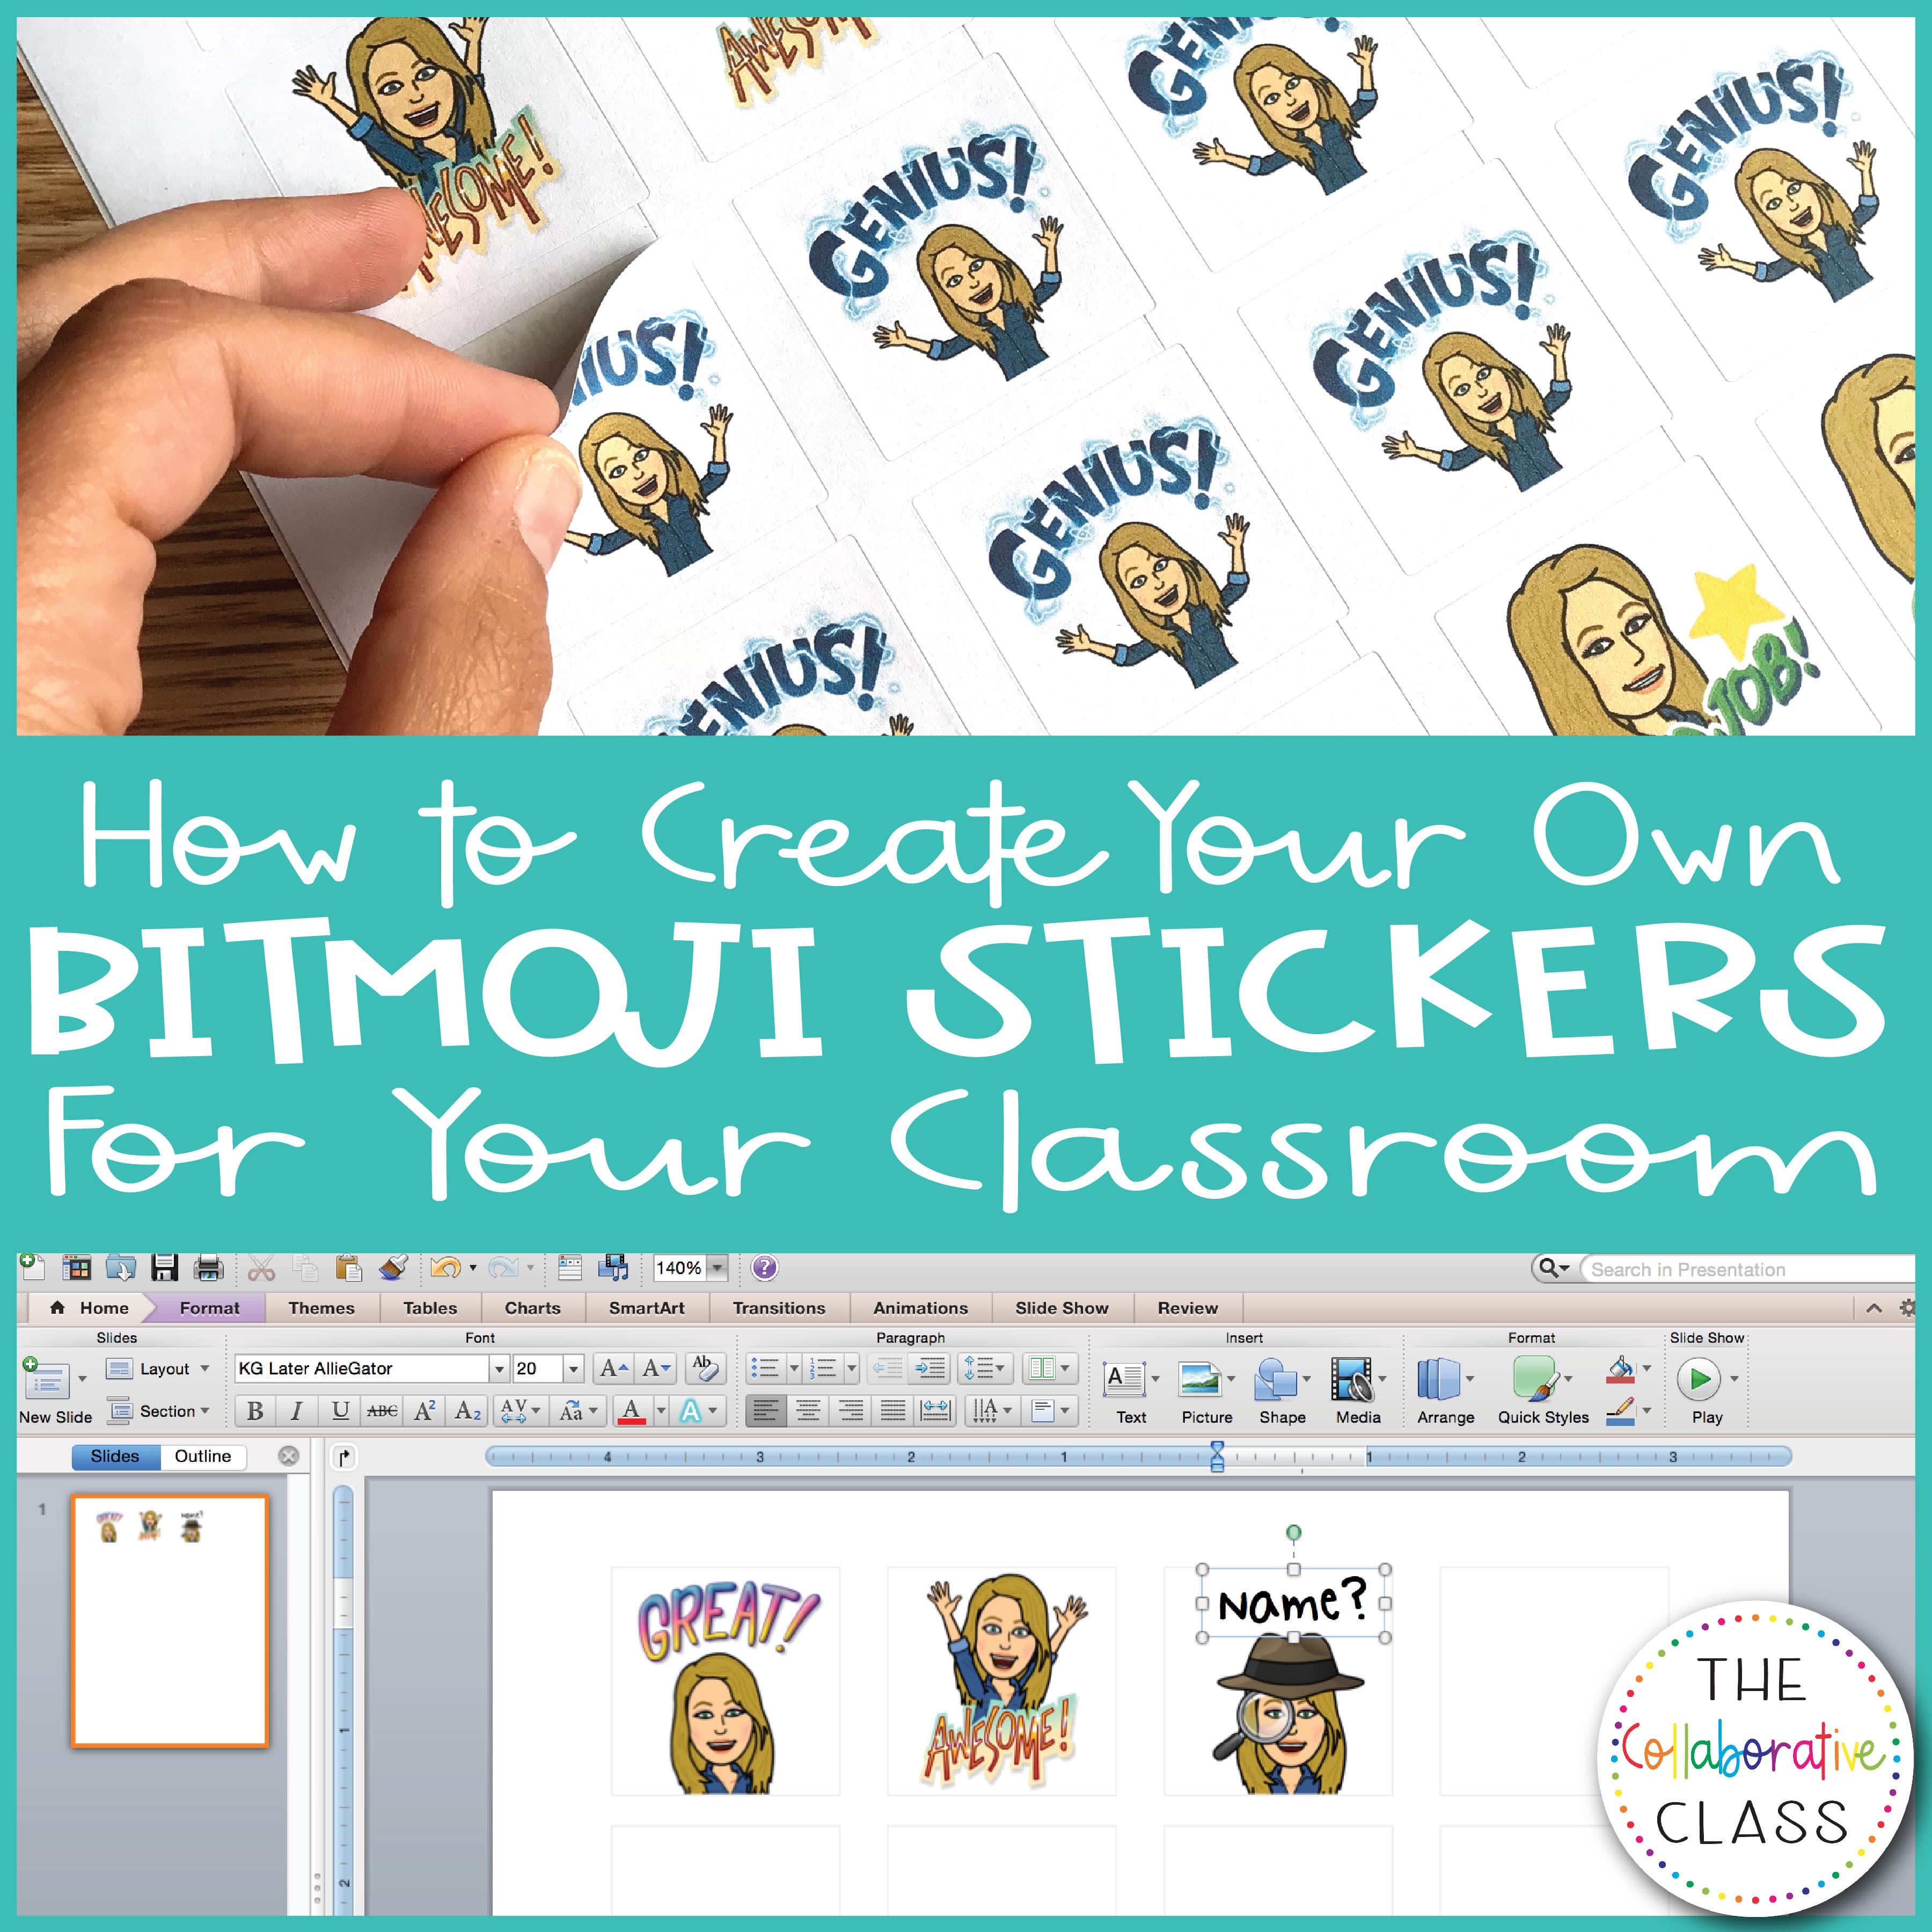
 Ok so I’m officially obsessed with Bitmojis. I’ve always been a fan for personal use, but now I’m excited to use them in my classroom this year as well. I think that my students will really get a kick out of them. They’re the perfect way to subtly engage students and continue to build positive relationships.
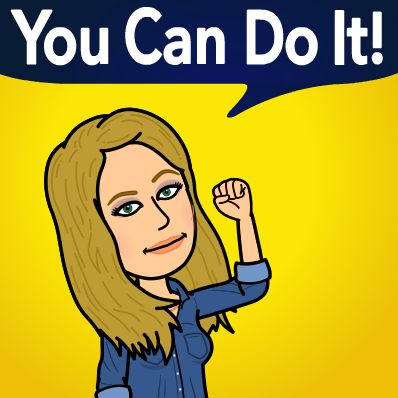
Wait, what is a Bitmoji?
If you’re not familiar with them, you are missing out!! A Bitmoji is an avatar that you can create to look like just like you. There are tons of customization options available.
How do I create my own Bitmoji?
You can make your Bitmoji right on your mobile device using the app, or you can download the Chrome Bitmjoi Extension and create your Bitmoji on your laptop or desktop computer.
Now once you have your Bitmoji created, it’s time to make some stickers!
Materials Needed to Make Bitmoji Stickers:
- Bitmoji avatar (through app or chrome browser)
- Sticker paper – 1.5″ square labels from Avery that I got on amazon. Purchase it HERE.
- Sticker templet (see below)
- Color Printer
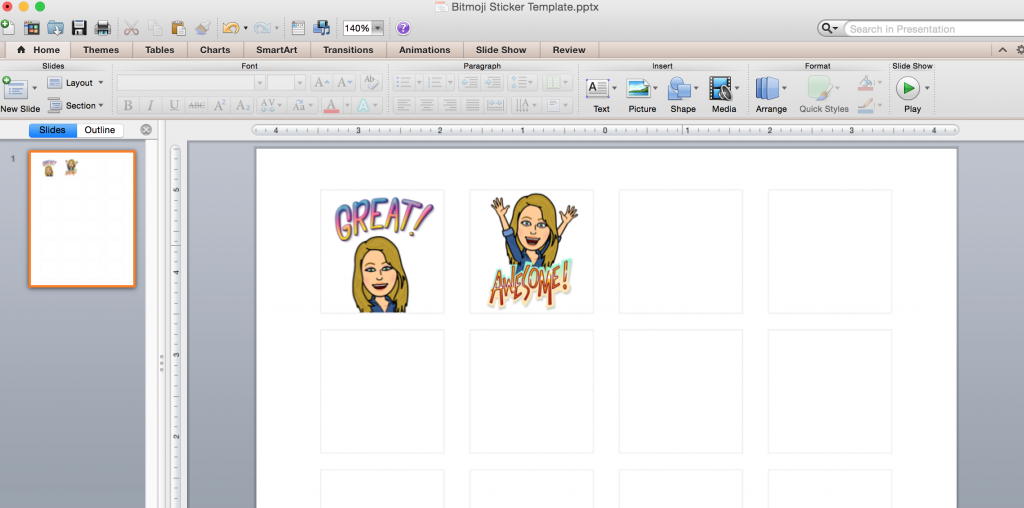
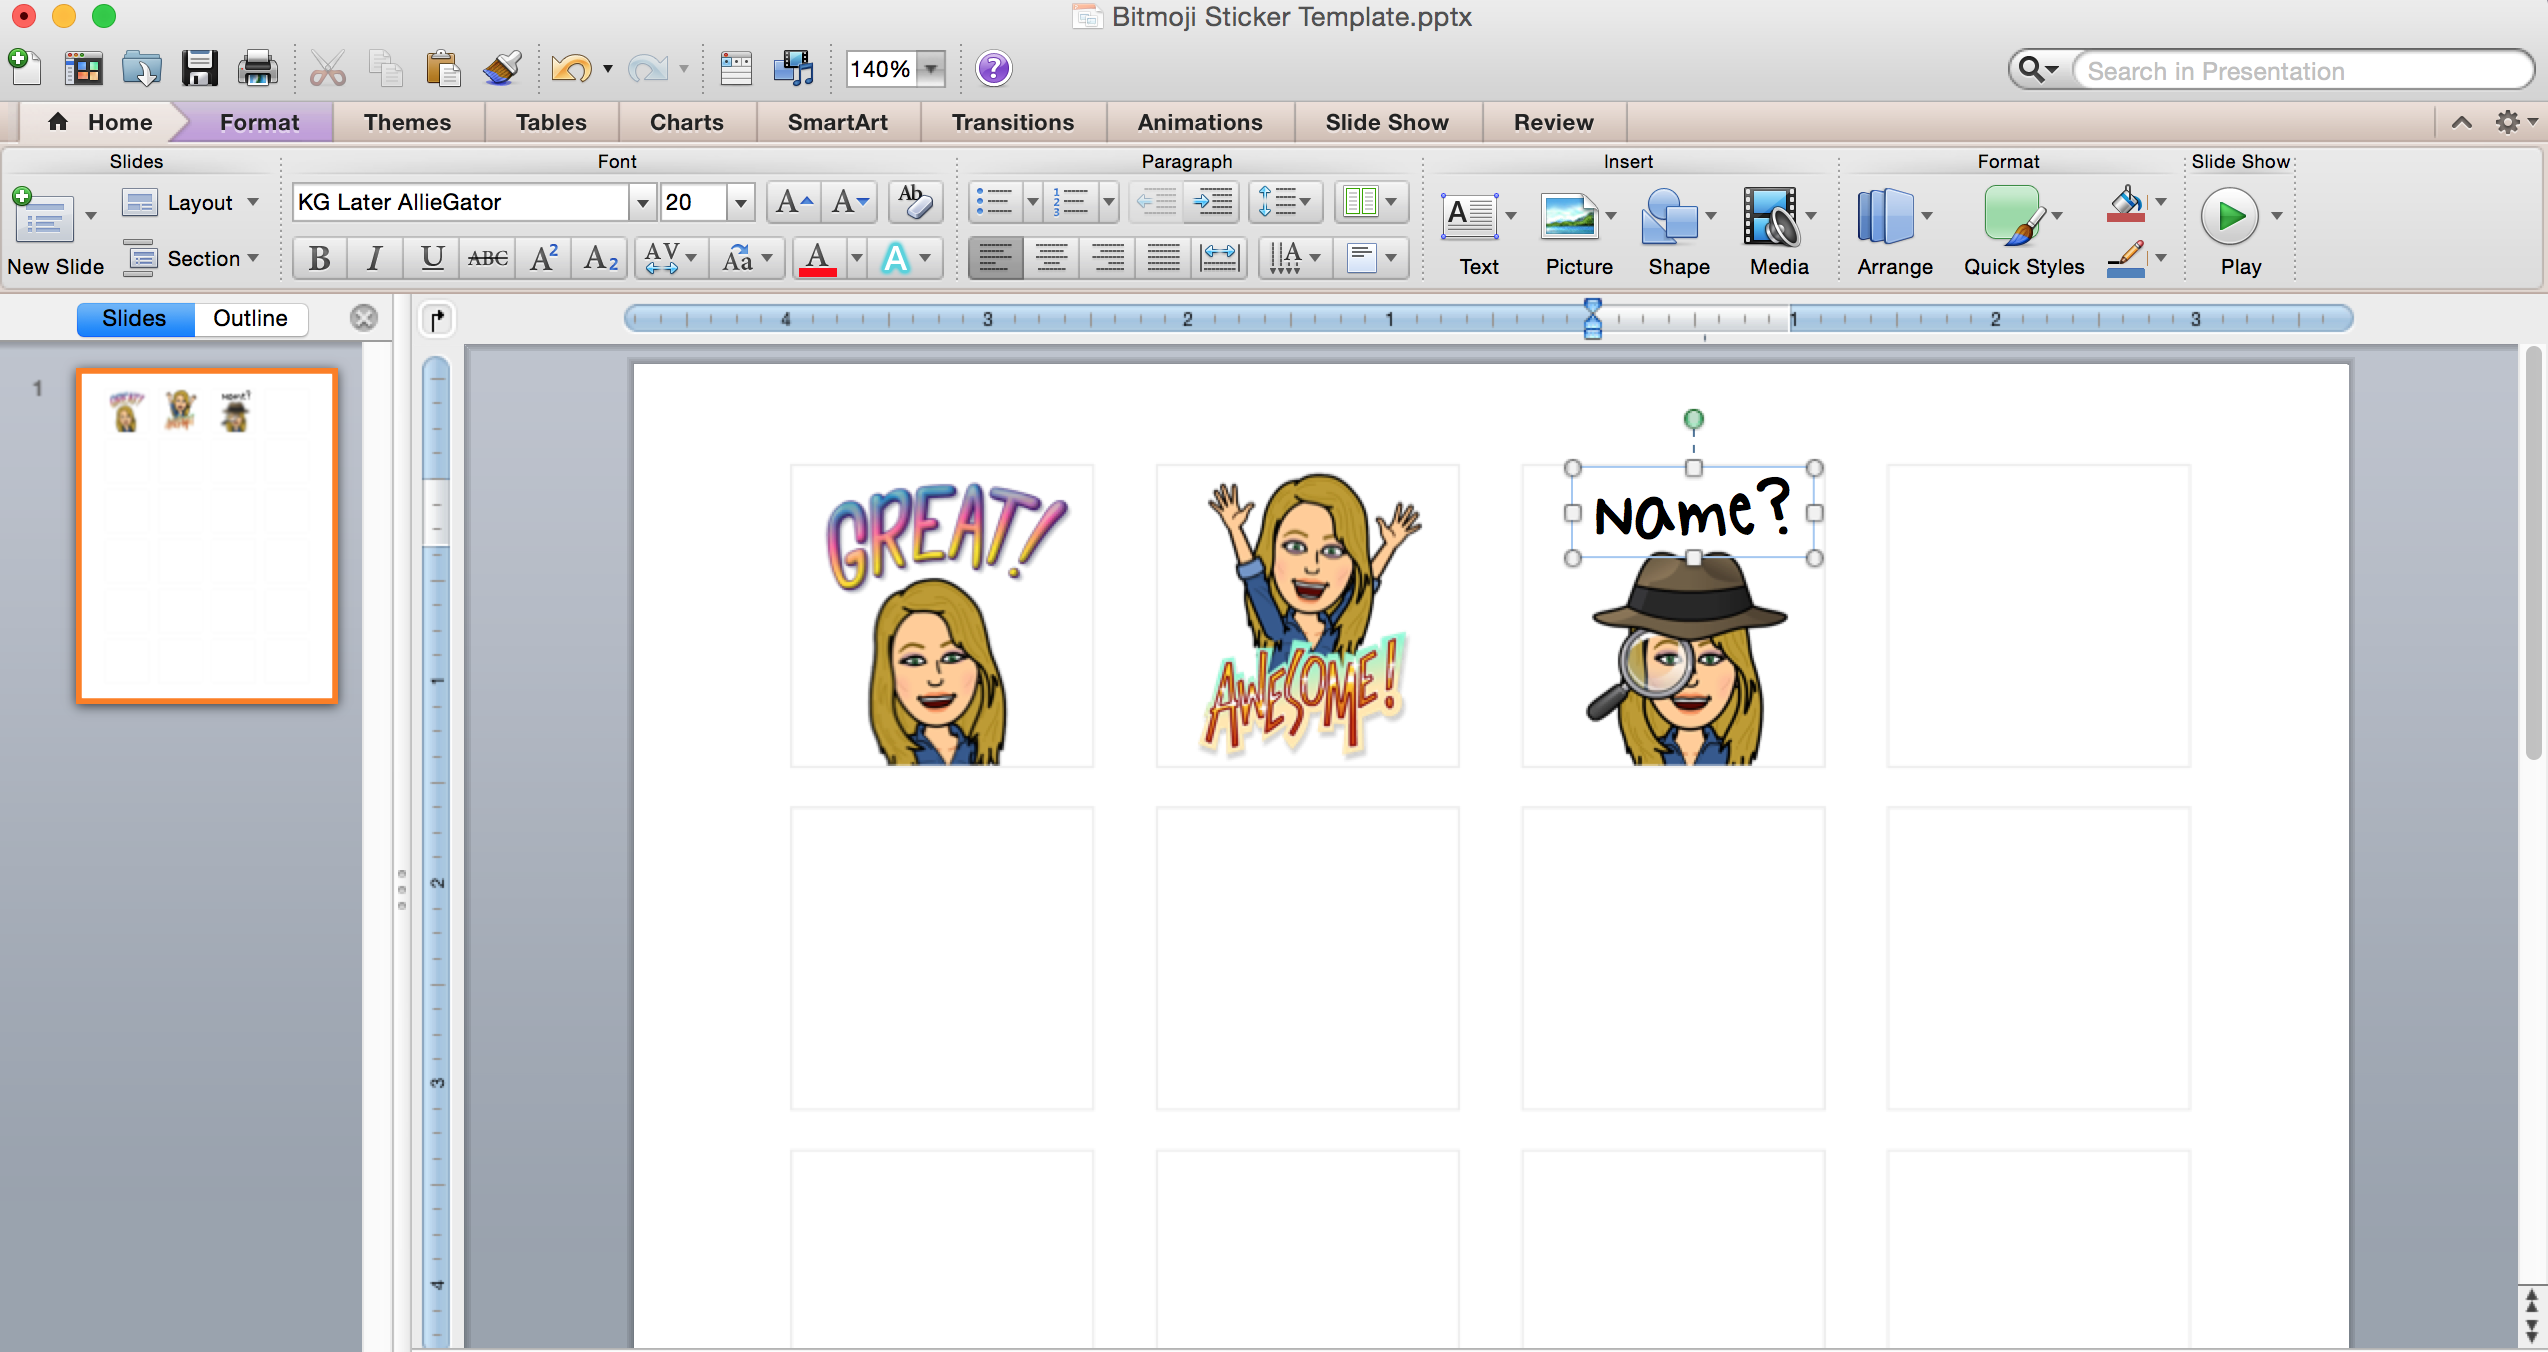
I created a template so you can easily insert your Bitmojis into PowerPoint to make your stickers. You can download your template here ➞ Bitmoji Sticker Template
Chrome Bitmoji Extension Instructions:
- Click on the Bitmoji shortcut in the right hand corner of your browser.
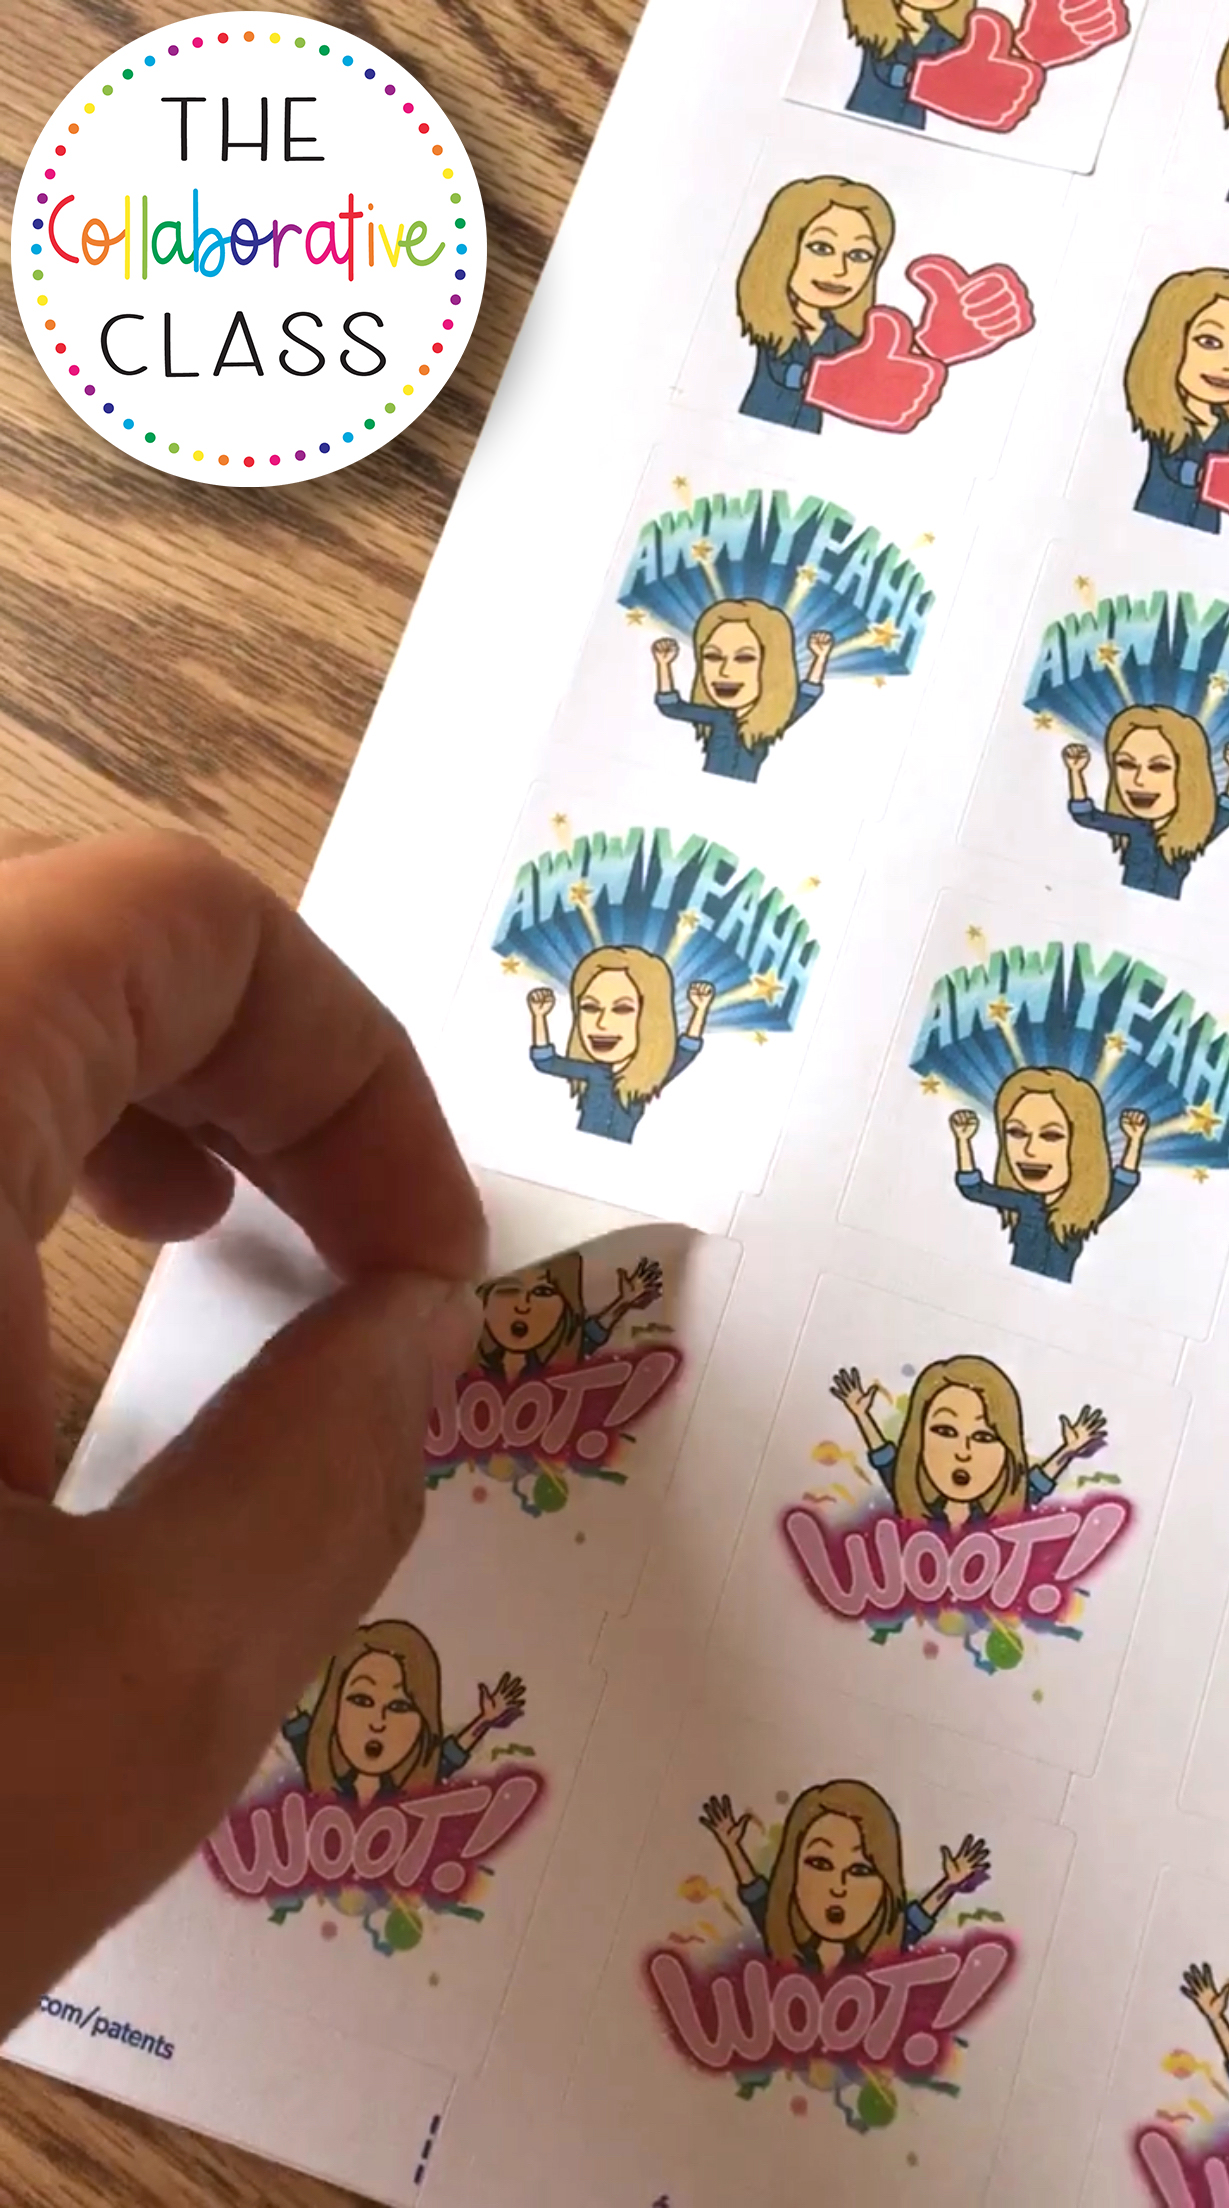
- Search for the Bitmoji you want to use. Example – Search “great” or “yay” for a sample of motivational Bitmojis.
- Right click the Bitmoji you want to use and select “copy image” and then paste it into the sticker template document.
- After you paste a Bitmoji into your sticker templet, resize it so that it fits within each box. Once the initial image is resized, you can copy and paste that to fill up the entire page, or rather paste in a bunch of different Bitmojis so that you have a variety of stickers on each sheet.
App Instructions:
- Open your app and scroll through the different categories or search to find the Bitmoji you want to use.
- Hold it down to save it to your camera roll.
- Send the Bitmoji picture you just saved to your computer via email, text, air drop, etc. Whatever is most convenient for you.
- Insert the Bitmoji image into the sticker templet document.
- After you paste a Bitmoji into your sticker templet, resize it so that it fits within each box. Once the initial image is resized, you can copy and paste that to fill up the entire page, or rather paste in a bunch of different Bitmojis so that you have a variety of stickers on each sheet.

Please Note:
If you would like to make more than one page of stickers to have different sticker options, you can duplicate the power point slide with the blank template.
Also, you can be creative an add text boxes to your stickers as well, like I did here for when I find a paper with a missing name.
Once your done filling your templet with your hilarious bitmojis, insert your sticker paper into your printer, print, and start placing your stickers on all your students’ work!
Good luck and leave a comment if you have any questions and want to share how you used your stickers 🙂
![]()